
Update Theme
Check this article before updating Maloch
There are 2 ways to update Maloch:
Update Automatically (Recommended): Using LA-Studio Updater plugin
Update Manually: Upload to Admin dashboard or FTP
#1 Update automatically
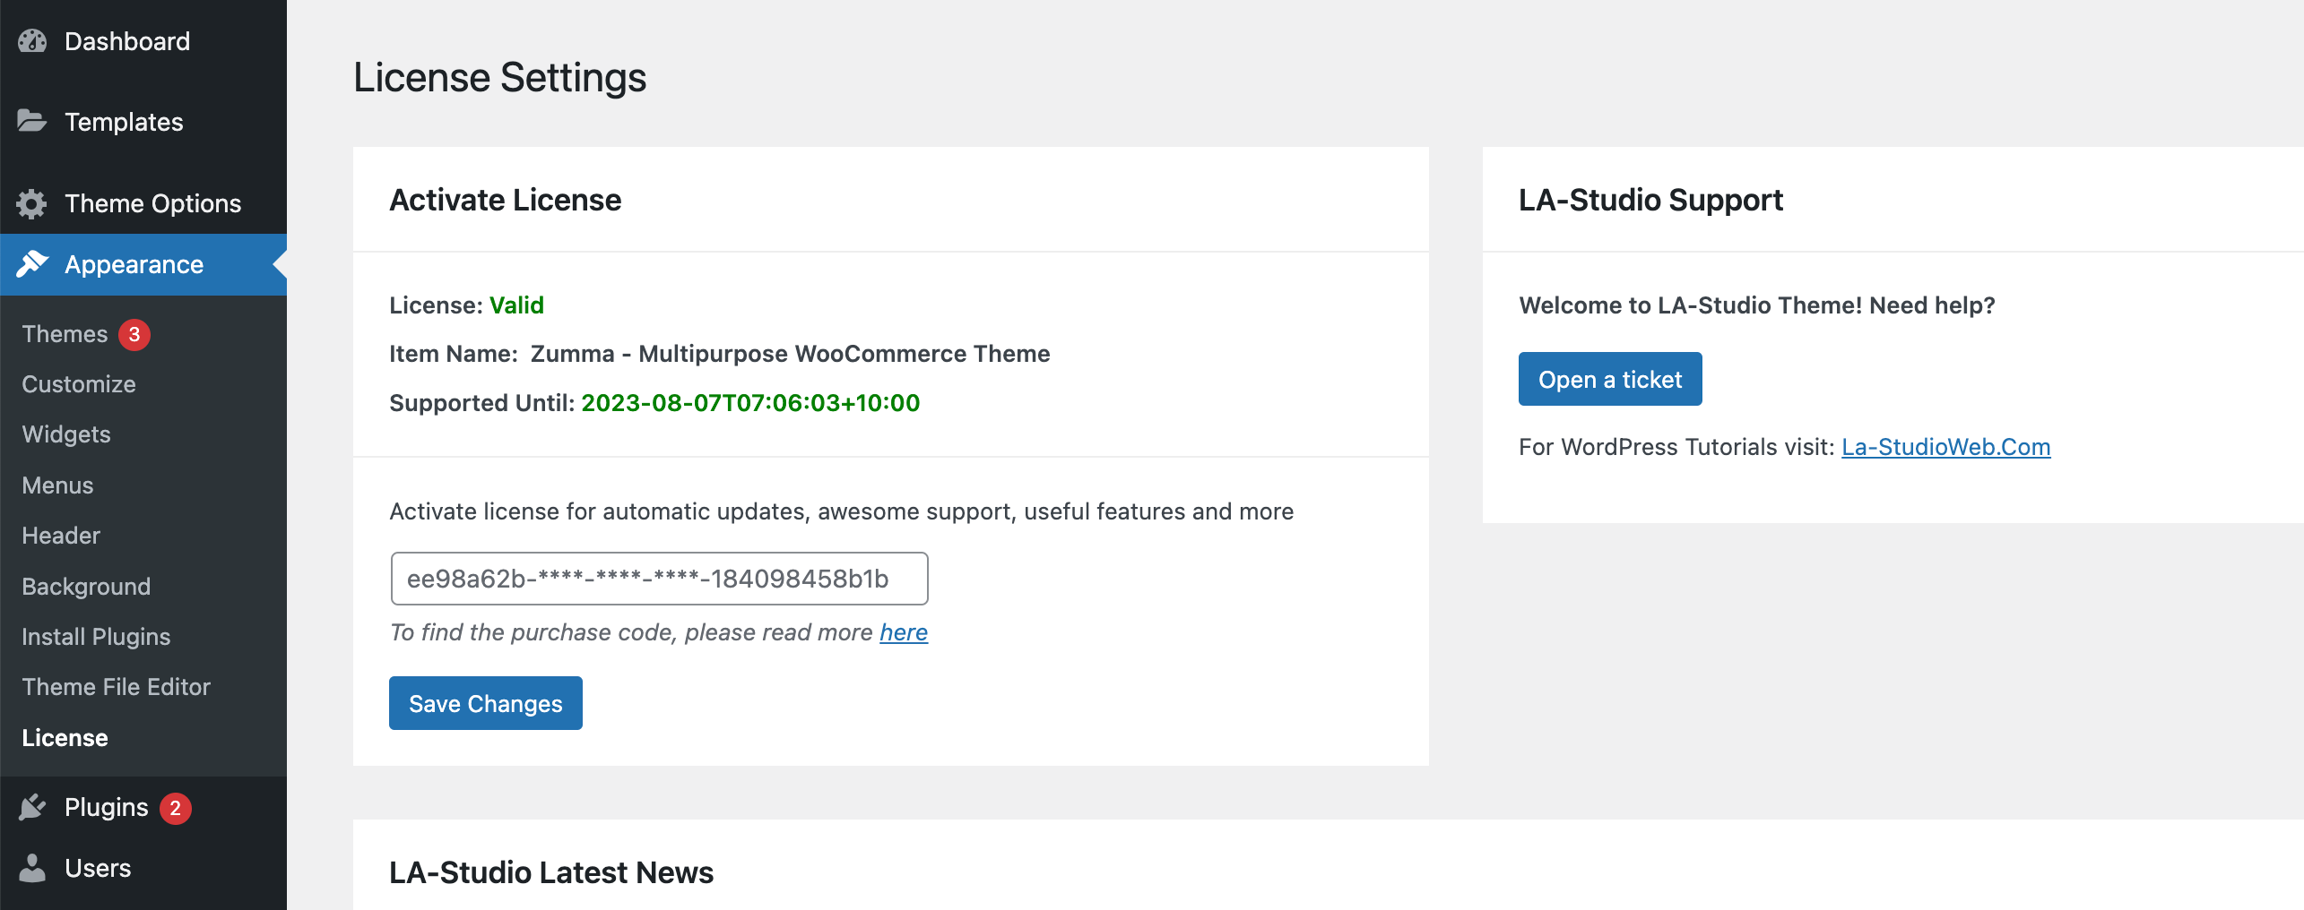
Navigate to Appearance >> License
Fill in your Purchase code and submit it. Then, you will be informed when there is an available update. Click the button Save Changes.
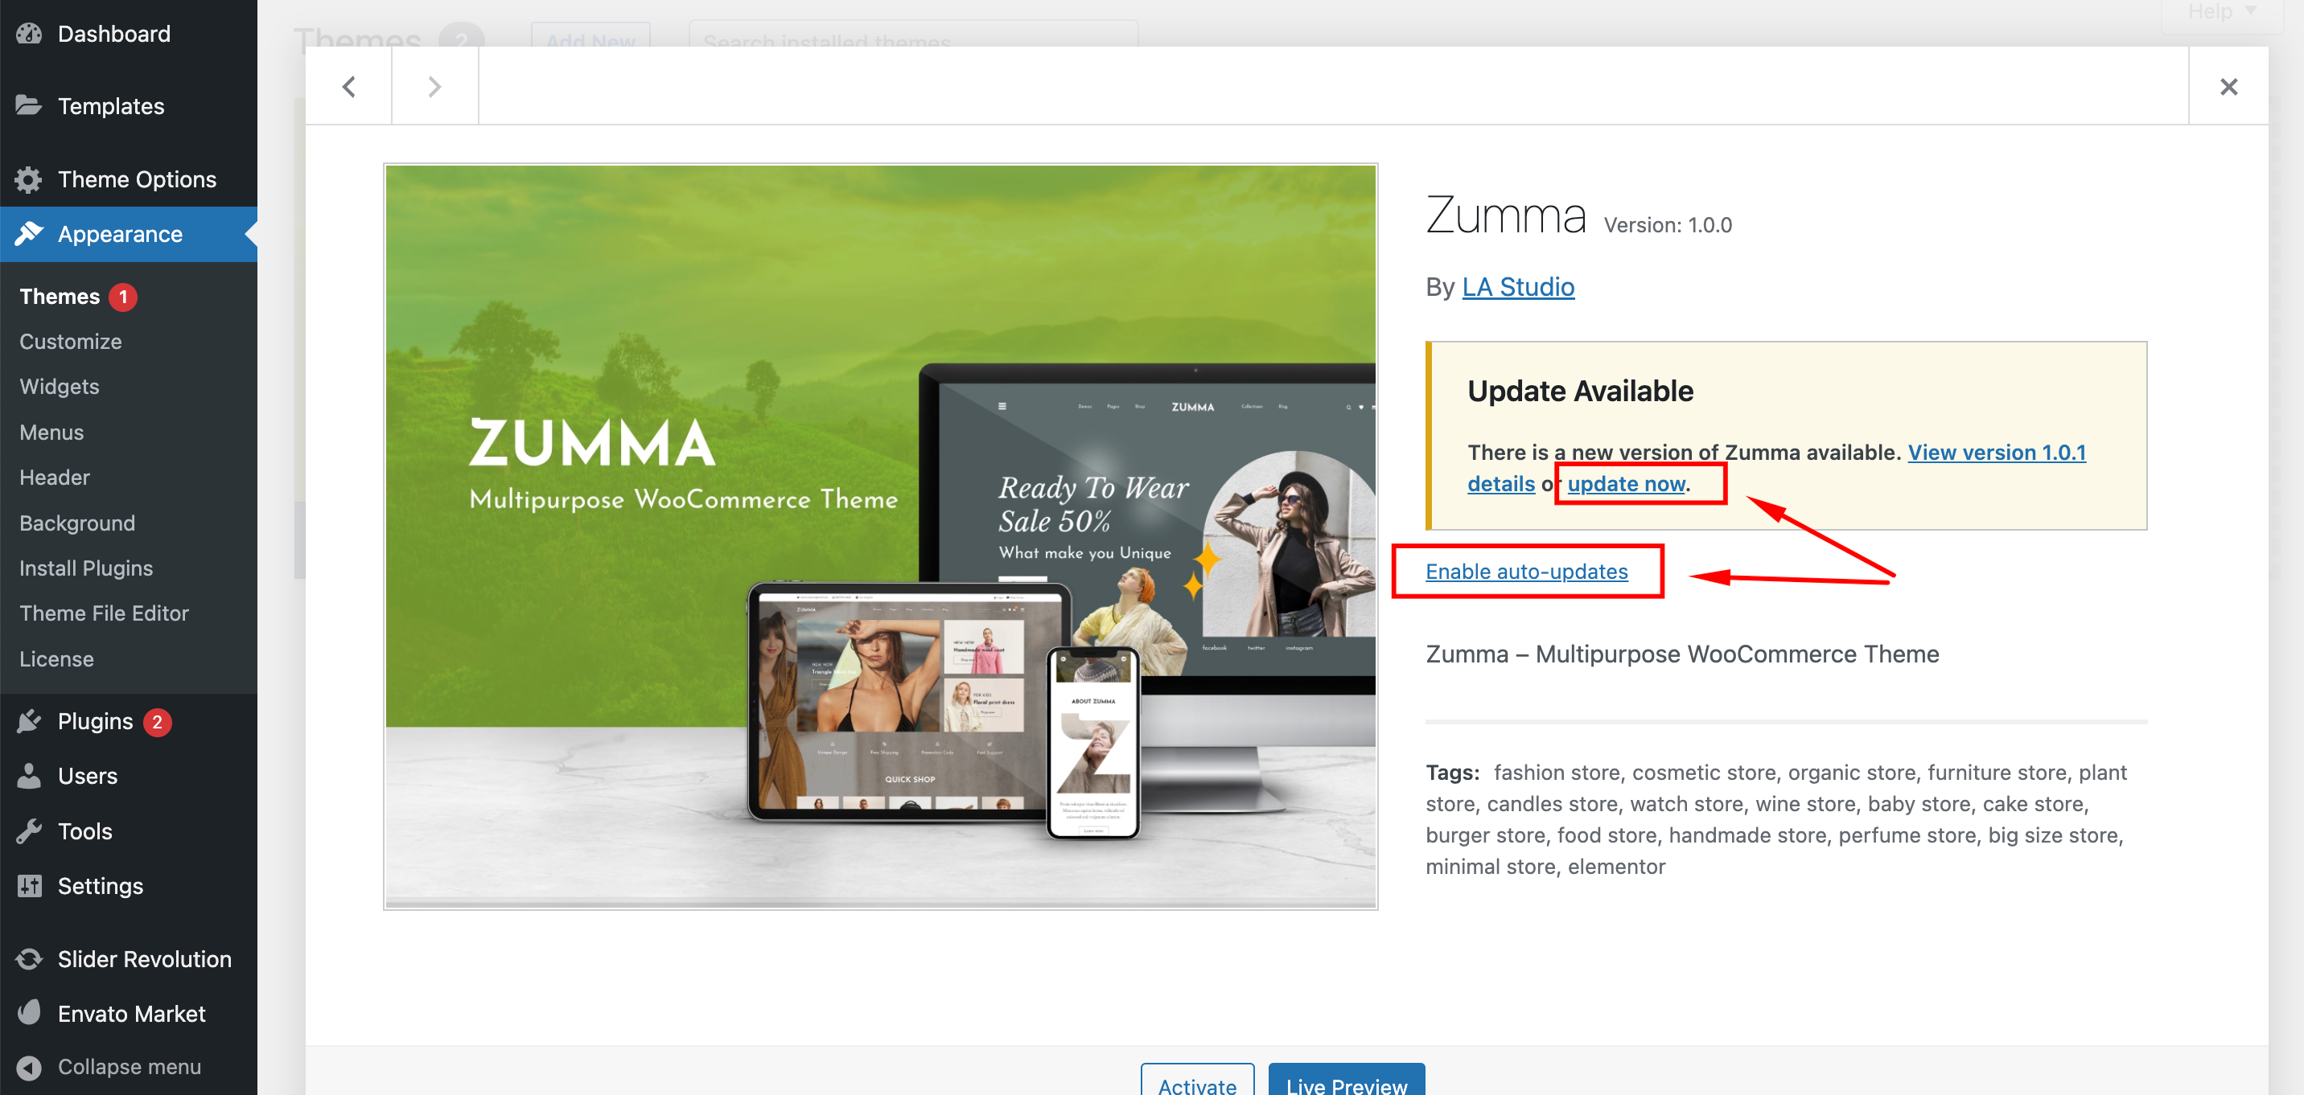
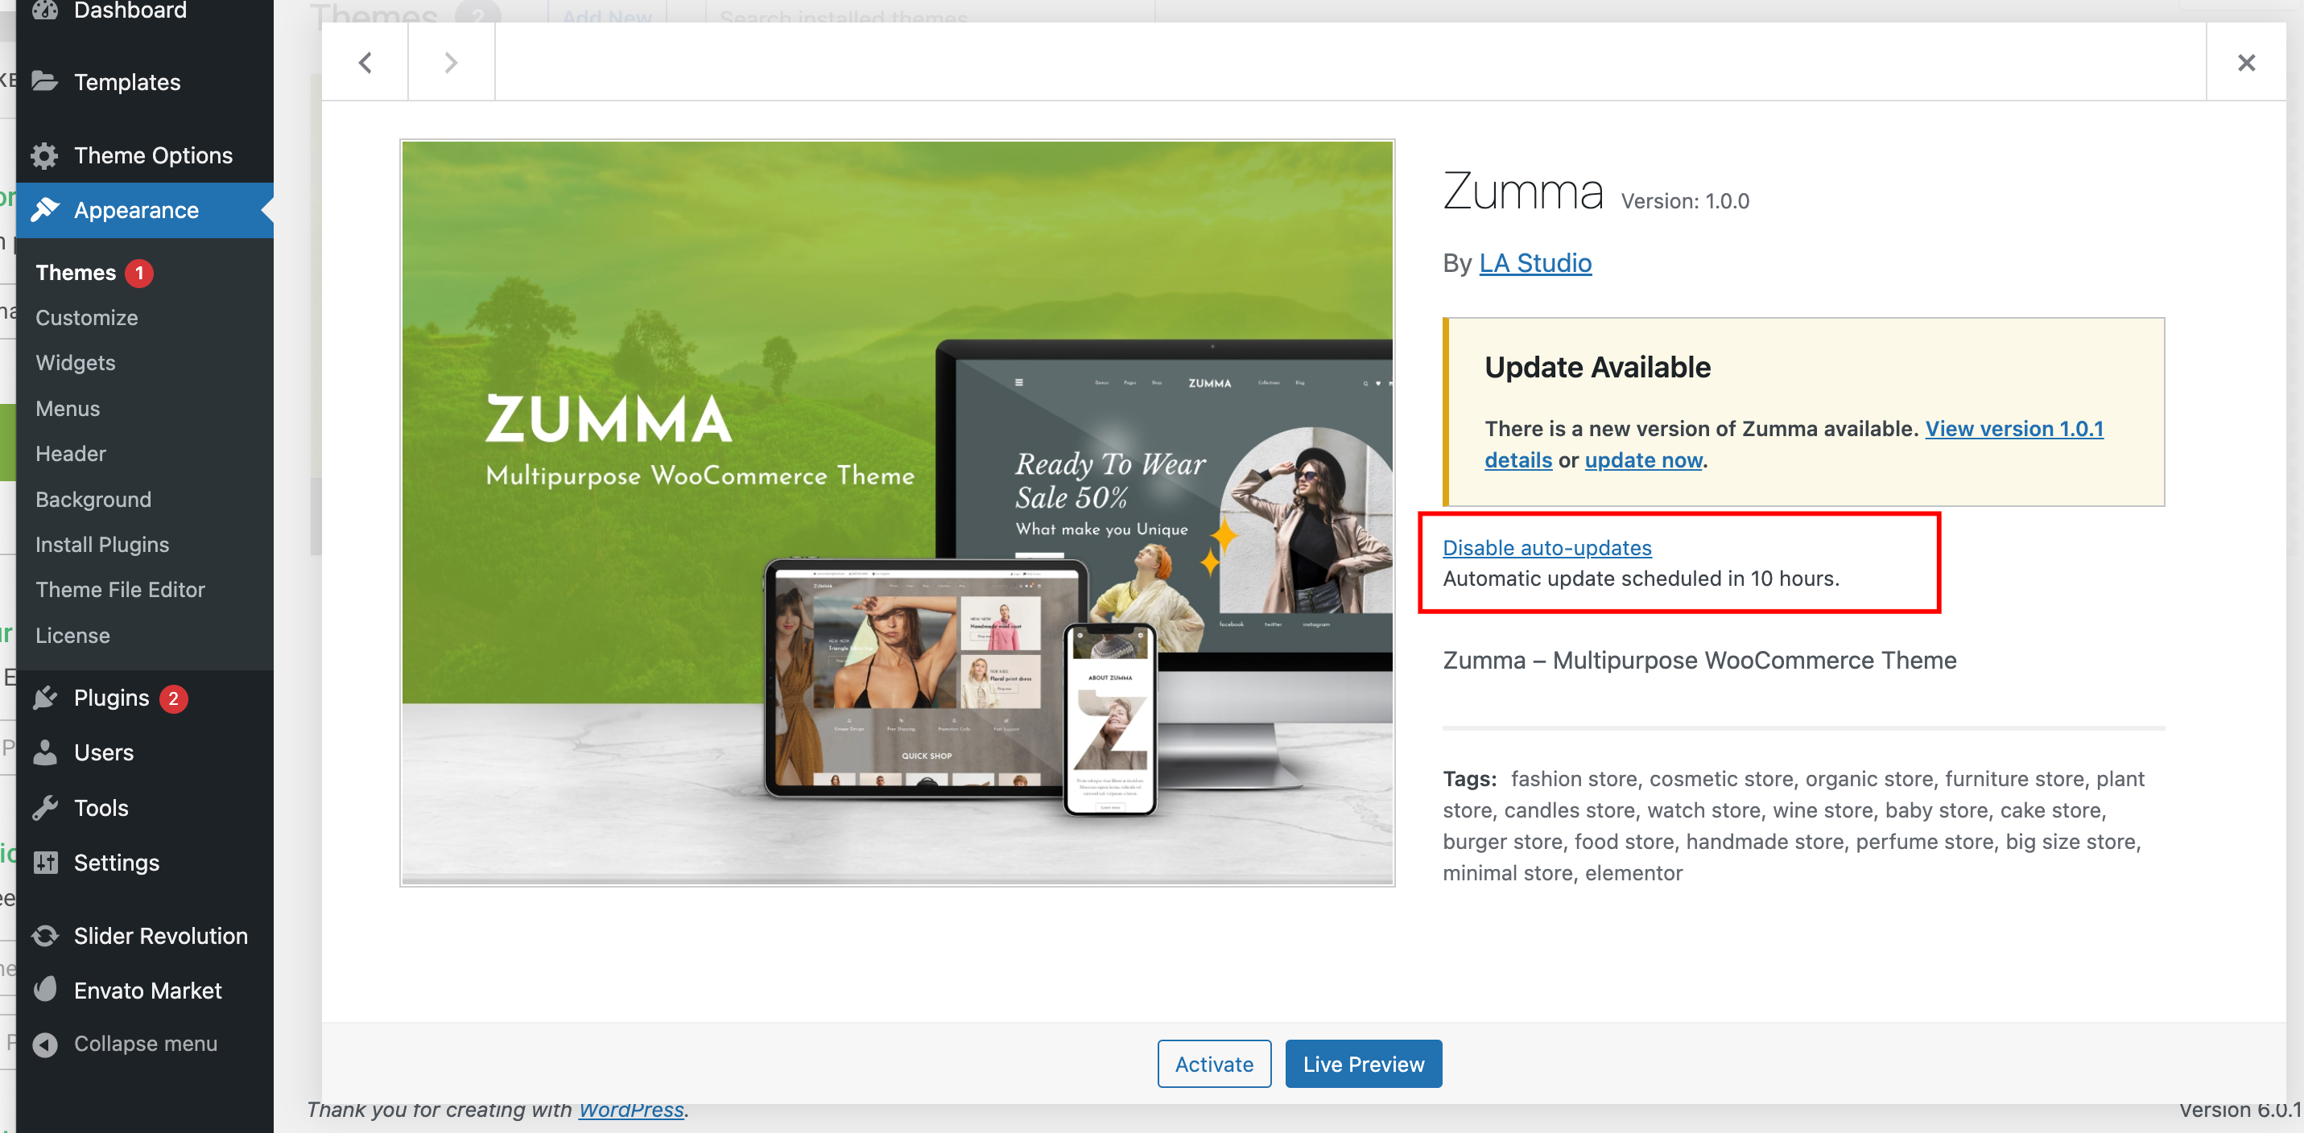
Then go to Appearance -> Theme and click to Enable auto-updates , then the theme will be automatically updated.
Enable auto-updates for plugins
Navigate to Plugins Screen. For each plugin, there is an “Automatic update” column with an action link used to enable/disable auto-updates plugin by plugin.
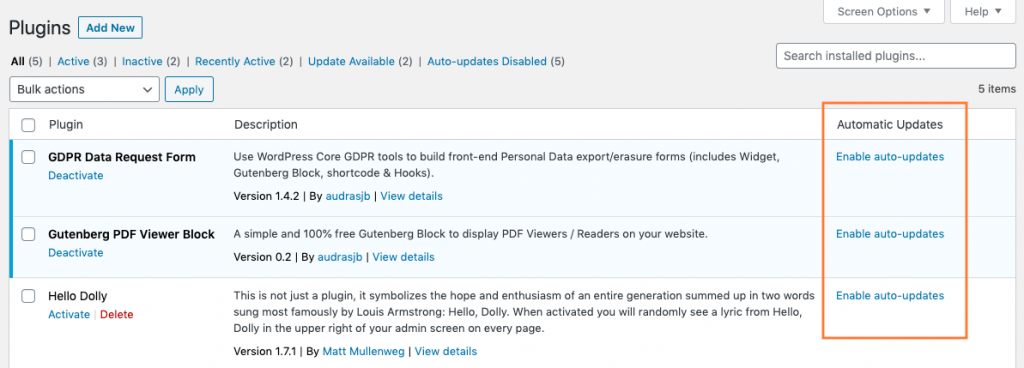
Click on this action link to enable auto-updates for each specific plugin.
Once enabled, auto-updates can be disabled at any time, using the same toggle link.
Plugins auto-updates can be bulk enabled or disabled for several plugin at one time by using the bulk action selector. Select plugins using the checkbox located in the first column of the plugins list table and use the bulk action selector located on the top of the table to enable or disable auto-updates. Then click on the “Apply” button to bulk enable/disable auto-updates for the selected items.
#2 Update manually
Step 1: Download the theme package from ThemeForest and unzip and then get the file maloch.zip
Step 2: Upload file:
If you use FTP, you just have to Log in to FTP, then Update file maloch.zip into folder var/www/htdocs/wp-content/themes
If you use the Admin dashboard, follow these steps to update Maloch to the new version
Step:
From Admin Dashboard, go to Appearance > Themes > Add New > Upload Theme
Choose to upload maloch.zip, then click Install Now
Hit Replace active with uploaded and it's done.


Last updated